Welcome to part four of this series covering iOS/iPadOS management in Microsoft Endpoint Manger, this will be the last part in this series. So far, we've covered the basics of iOS/iPadOS in MDM, the different deployment methods available and how to configure devices as well as deploy apps. Today we'll have a look at how we can manage identities, specifically Managed Apple IDs, Federated authentication with Azure AD and Single Sign-On App Extension.
You can find part one, two and three here:
Managing iOS/iPadOS Part 1: The basics
Managing iOS/iPadOS Part 2: Deployment methods
Managing iOS/iPadOS Part 3: Configurations & Apps
Table of contents
Managed Apple ID
A managed Apple ID can be used like a personal Apple ID to sign into a personal or shared iOS/iPadOS device. They can also be used to access Apple services such as iCloud and collaboration with Notes and iWork. One difference to personally created Apple ID's is that managed Apple ID's do not support family sharing.
When an Apple ID is created in Apple Business Manager, it is owned and managed by the organization. You have full control over password resets and deactivating the ID.
Managed Apple ID's can be created using the following methods:
-
Import accounts from your Student Information System (SIS) (Apple School Manager only)
-
Import .csv files using the Secure File Transfer Protocol (SFTP) (Apple School Manager only)
-
Use federated authentication with Microsoft Azure Active Directory (AD)
-
Use the System for Cross-domain Identity Management (SCIM) to import users from Microsoft Azure Active Directory (Azure AD)
-
Create accounts manually
If you've read part two of this series, you probably remember that we manually created managed Apple IDs to use for user enrollment. This is a valid method of creating IDs for your users but require administration from IT to create an ID, creating sign-in and sending a temporary password to the user. The user will then have to create a new password when they first sign into their ID and they will have yet another password to keep track of. A better method is to use federated authentication which we'll have a look at setting up below.
Federated authentication
In this scenario, Azure AD is the IdP that handles the authentication for Apple Business Manager and issues authentication tokens. If you use other IdPs connected to Azure AD such as ADFS this will also work. The integration between Apple Business Manager and Azure AD is based on SAML.
When an Apple ID is created with this integration, the user can sign into iCloud, shared iPads or during user enrollment with their Azure AD UPN and password.
Integrate ABM with Azure AD
To integrate ABM with Azure AD, you first must verify your domain. We cover how to do this in part two.
- Sign into Apple Business Manger
- Click on Settings -> Accounts, and then Edit on Domains
- Next to Federated Authentication, click Edit and then Connect

- Click on Sign in to Microsoft Azure Active Directory Portal, the user you sign in with must be a Global Administrator, Application Administrator, or Cloud Application Administrator
- Enter your password
- Read the application agreement and then click on Accept
- Click Done
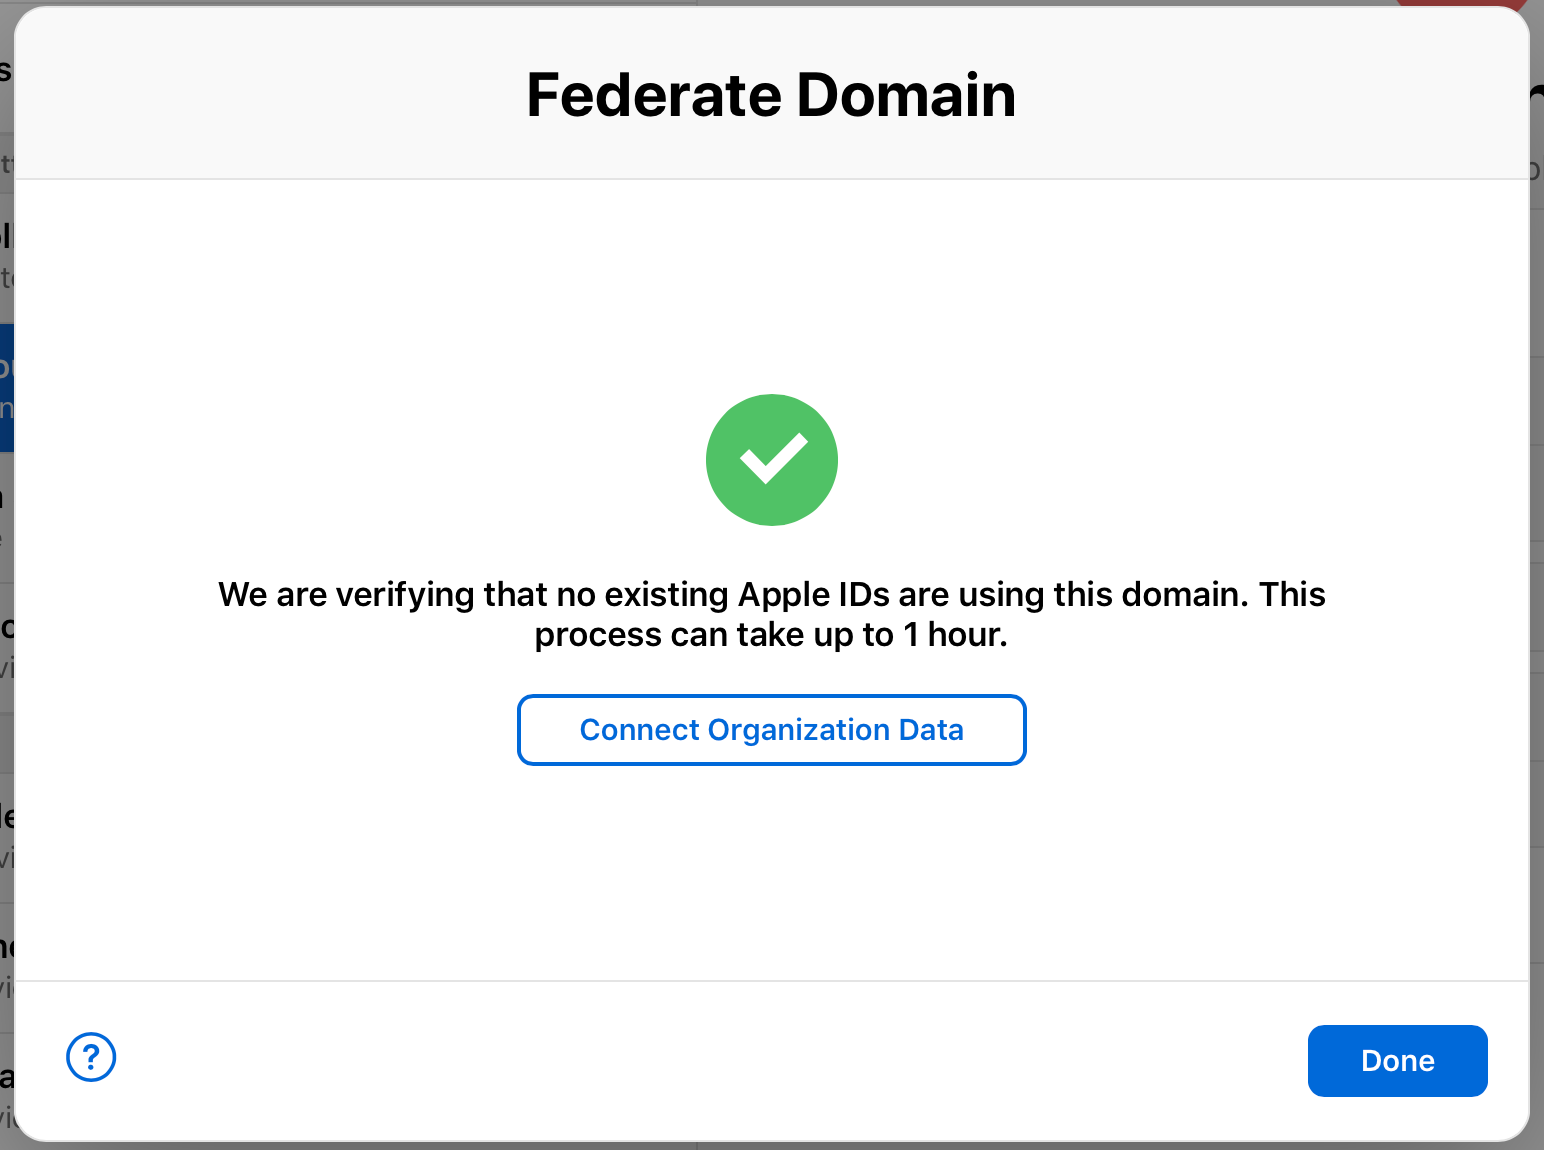
Test authentication with a single Azure AD account
-
Click Federate next to the domain you want to federate.

-
Click “Sign in to Microsoft Azure Portal,” then enter your username and password.
-
Enter a Microsoft Azure AD Global Administrator, Application Administrator, or Cloud Application Administrator account that exists in the domain, then click Next.
-
Enter the password for the account, click Sign In, click Done, then click Done.
In some cases you may not be able to sign into your domain. Here are some common reasons:
-
The username or password from the domain that you chose to federate is incorrect.
-
The account isn’t in the domain that you chose to federate.
When sign-in is successful, Apple Business Manager checks for username conflicts with this domain. The check for username conflicts must be complete before you can use federated authentication with this domain.
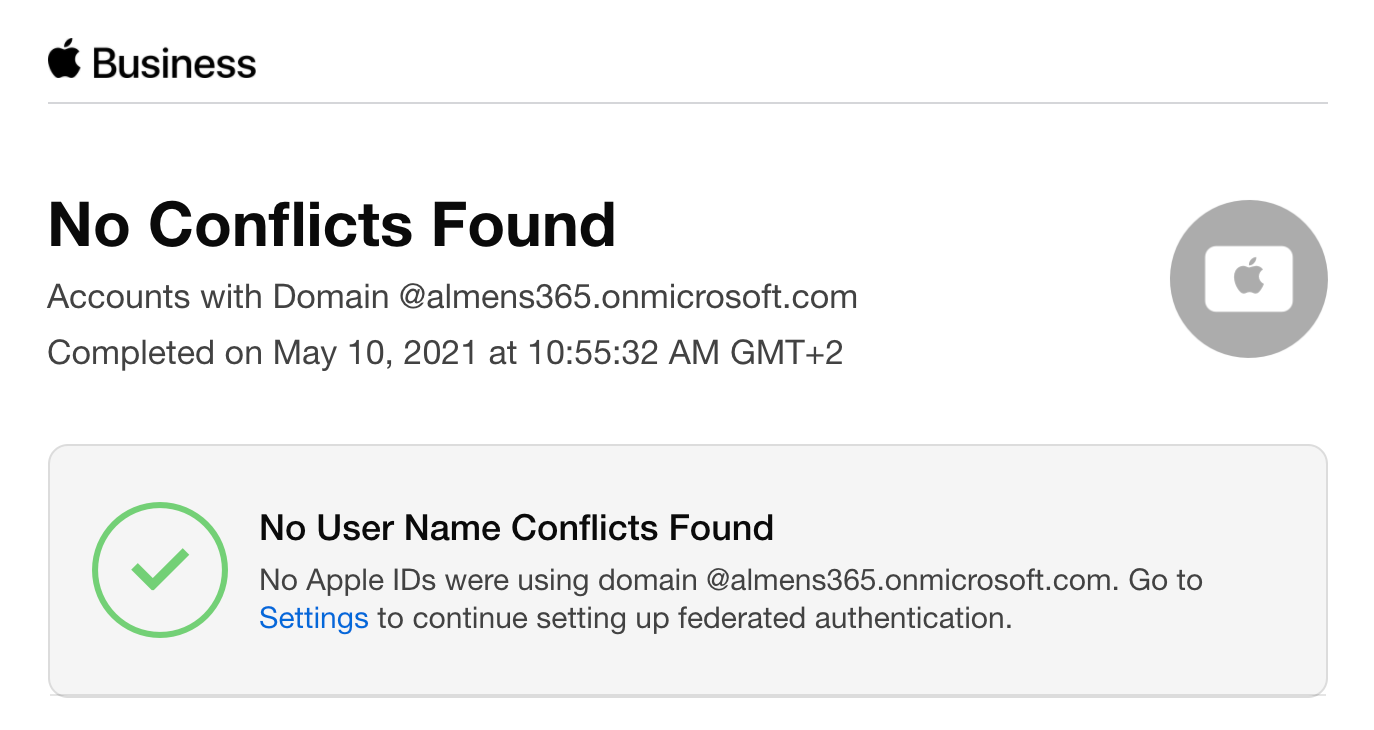


Note: After you successfully link Apple Business Manager to Azure AD, you can change the role of an account to another role. For example, you may want to change the role of an account to a Staff role.
Test federated authentication
After the following has been completed you can test federated authentication:
-
You’ve completed a successful connection and verification to your domain.
-
The check for username conflicts is complete.
-
The Managed Apple ID default format is updated.
Note: Accounts with the Administrator role can’t sign in using federated authentication; they can only manage the federation process.
-
In Apple Business Manager, sign in with an account.
-
If the username is found, a new screen indicates that you are signing in with an account in your domain.
-
Click Continue, enter the password for the user, then click Sign In.
-
Sign out of Apple Business Manager.
Single Sign-On App Extension
Starting with iOS/iPadOS 13, Apple introduced something called Single Sign-on Extension. Alot has happened with Microsofts implementation since I first wrote a blog post about it. Everything I wanted to see with it has become reality today, including support for Safari web SSO and OpenID Connect, OAuth and SAML. What this means is that we're able to provide a seamless experience for users on mobile when they access web or native applications connected to Azure AD.
If you for example use Salesforce federated to Azure AD with SAML and you deploy an SSO Extension profile to iOS/iPadOS devices, the authentication flow would be:

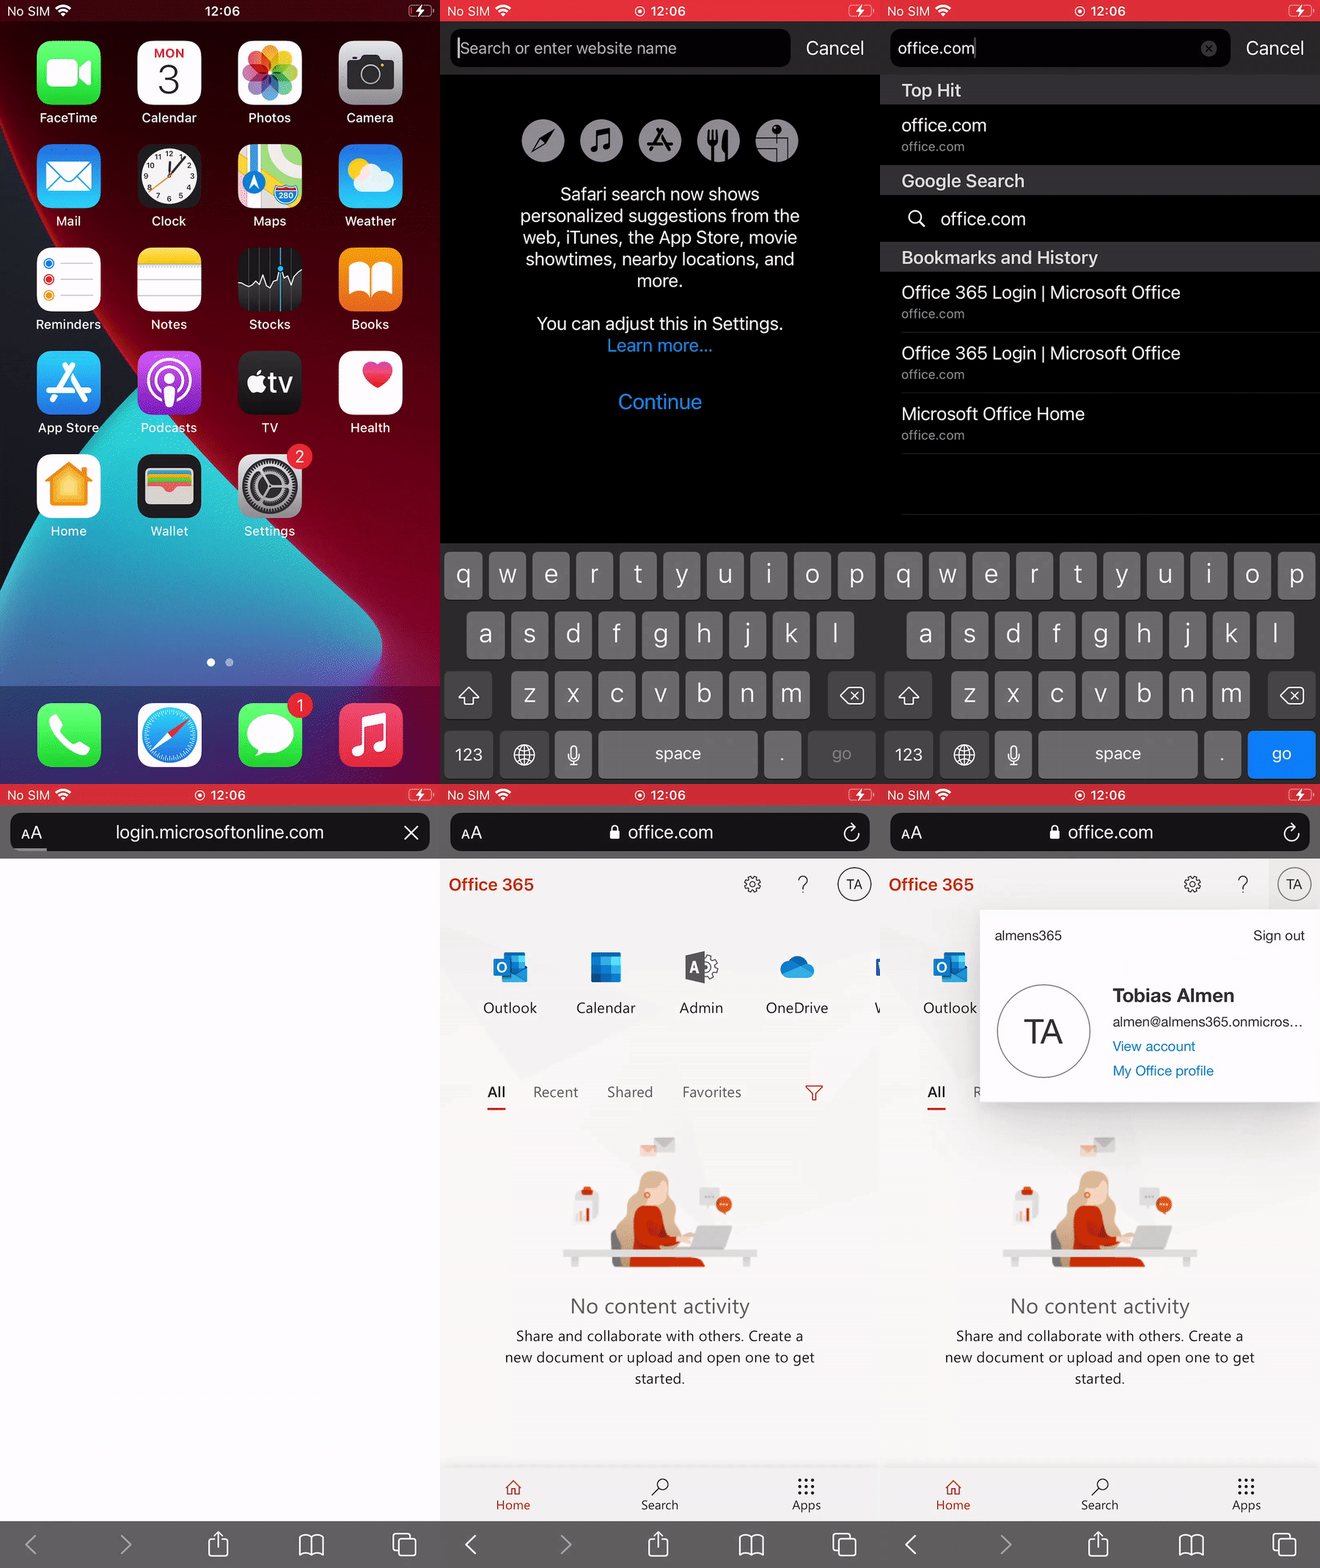
The SSO Extension app in this case is Microsoft Authenticator, if the user has an active session, then they're automatically signed into Salesforce. The same also applies to web apps, such as the Office 365 portal.
There are only a few pre-requisites to get started with this feature:
- iOS/iPadOS 13 or higher installed
- Microsoft Authenticator app installed and signed in
- Device is managed by MDM
Configure Azure AD Single Sign-On Extension
- Sign into the MEM console
- Go to Devices -> iOS/iPadOS -> Configuration Profiles and click on Create Profile
- For Profile type, choose Device features and click Create
- Give you profile a name and then click Next
- In the list of settings, choose Single sign-on app extension
- For SSO app extension type, choose Microsoft Azure AD
- If you have apps that do not use the newest Microsoft libraries but instead uses SAML, you will need to add the bundle id of your app under App bundle IDs
- Click Next
- Assign the configuration profile to a group and click Next
- Click on Create
And that's it, that is all you need to configure provided Microsoft Authenticator is already installed and the users account is added.
End user perspective with SSO app extension installed signing into the Office portal:
Wrapping up
That's it for this series, it's been a fun ride going over all aspects of managing iOS/iPadOS in Microsoft Endpoint Manager. I hope this has given you the knowledge to be confident in setting up your own management for these platforms. If there's something you need more information on or if you think I failed to cover something, drop me a message on the contact page, twitter or LinkedIn.


