
I know I know, I've been on a Munki frency the last couple of weeks but it's a fun and important topic to explore while managing macs in MEM. This will probably be the last Munki post in a while though (except if you want more) 😉
When we explored how to integrate Munki with MEM, we also had a look at managing our repository with GitHub and actions to automatically upload files to Azure Storage. Today we're doing something similar but intstead of GitHub we'll use Azure DevOps and a Pipeline to automatically sync DevOps and Azure Storage.
If you have not yet prepared a Storage Account with a Munki repo or don't know how to work with Munki admin, please read the initial post on how to integrate Munki with MEM.
Pre-requisites
To follow along in this post, you need to have an organization in Azure DevOps with free tier parallelism, if you don't yet have free tier access you can request it here. Note that it takes 3-4 days.
- A project in Azure DevOps
- Azure Storage Account prepared for Munki
- Access to setup a Service Principal
My suggestion is to create a new project in Azure DevOps specifically for Munki.
Got it? good, then let's go!
Setup Azure DevOps
Create Service connection
In your DevOps project,
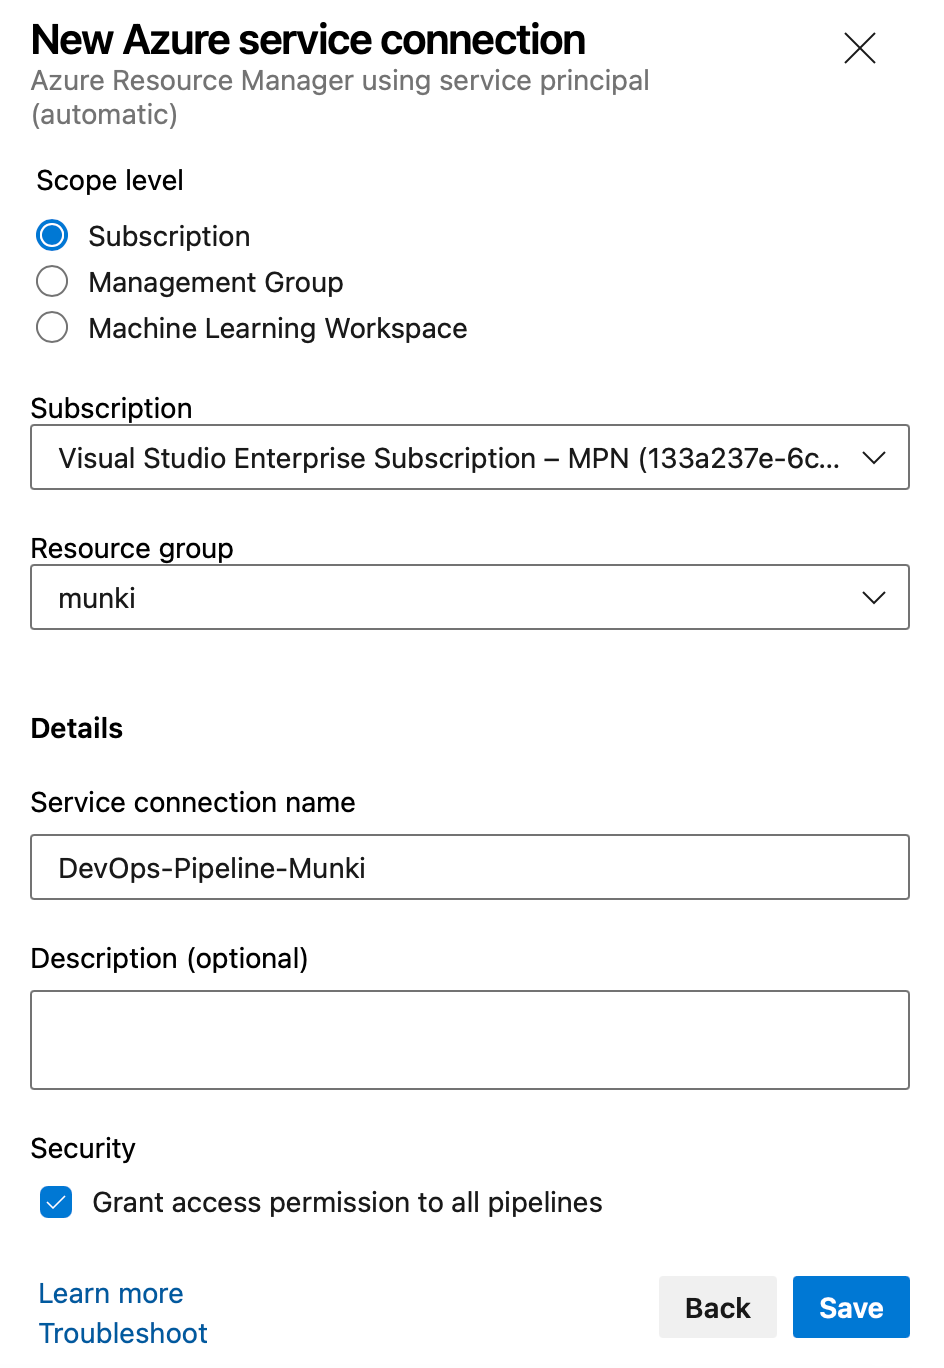
- Navigate to Project settings -> Service connections and click Create service connection
- Choose Azure Resource Manager, click Next, use the default Service principal (automatic) and click Next
- Choose your Subscription and Resource group, provide a Name and then click Save
Create personal access token
To use Git on our mac, we need a personal access token. Create one by following the below steps.
- Click account settings at the top and then click Personal access tokens

- Click + New Token
- Provide a Name, expiration date and choose Read, write & manage under the Code scope then click Create
- Copy the token and save it, we'll need it later
Give Service principal blob access
To run our pipeline, the service principal needs access to read, write and delete blobs in our private munki container.
- Open your storage account prepared for Munki and navigate to the private munki container
- Click Access Control (IAM)
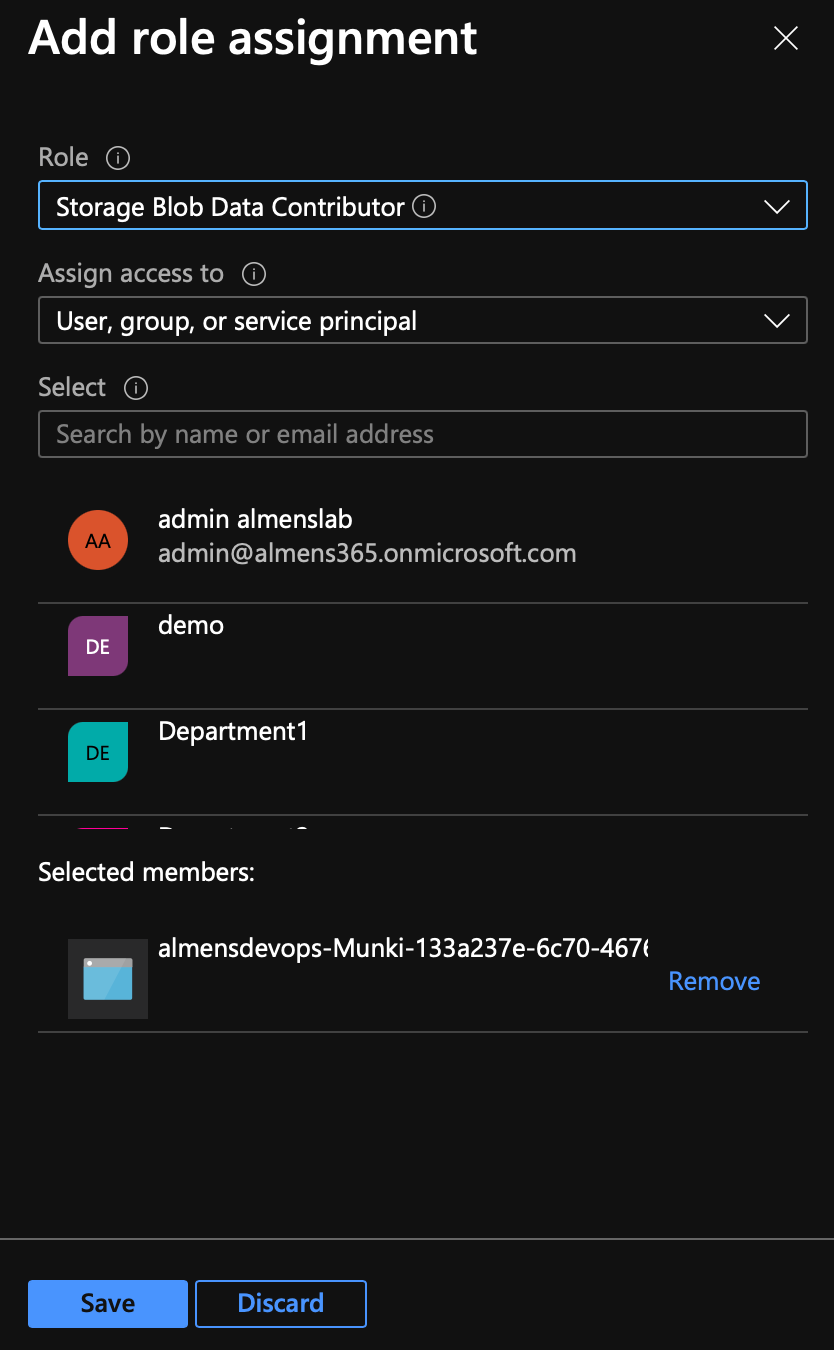
- Click Add,
- For role, choose Storage Blob Data Contributor
- On Select, search for your newly created service principal, it will have the name {DevOpsOrgName}-{DevOpsProjectName}
- Once you've selected the role and your SP, click Save
Prepare repository
I use Homebrew for installation as it makes the process quite easy. If you don't have Homebrew installed, run this command in the Terminal,
/bin/bash -c "$(curl -fsSL https://raw.githubusercontent.com/Homebrew/install/HEAD/install.sh)"
- Install Git by running this command
brew install git - Install Git LFS by running this command
brew install git-lfs - Initialize Git LFS by running this command
git lfs install
Great, now we have all pieces in place to create our repo with LFS. Next step is to create a repo locally which we then will push to Azure DevOps. This only needs to be done while setting up the repo, and it should only be done on a new repo as LFS otherwise might not work or you might mess up history when migrating the repo to LFS.
- Create a folder on your mac called Munki
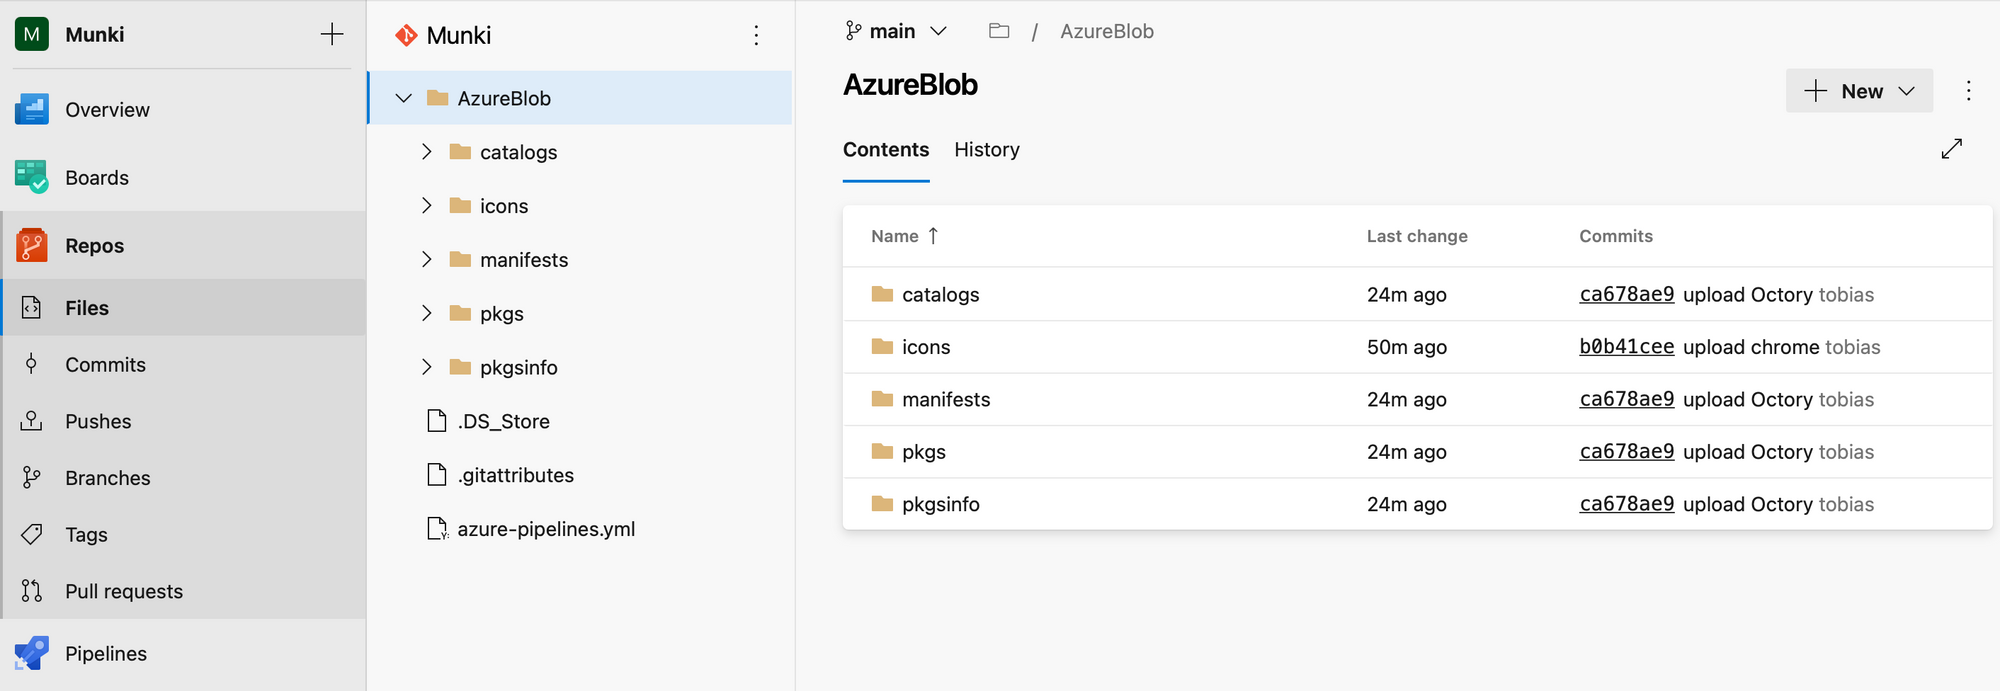
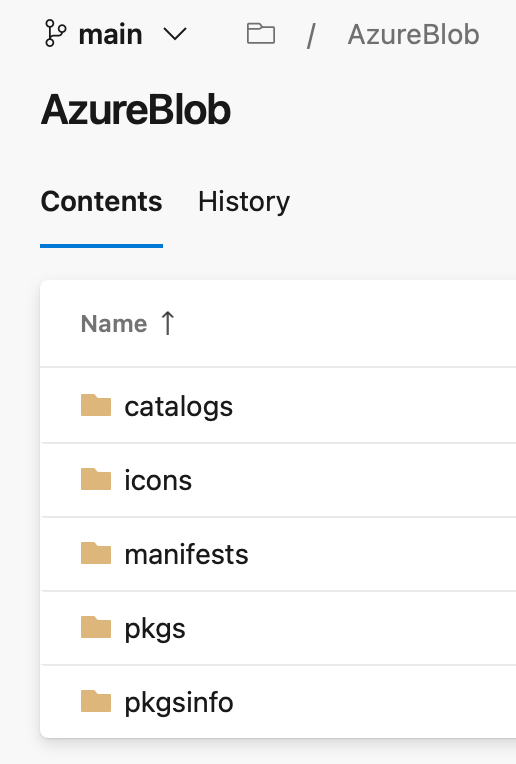
- Open Munki Admin, choose File, New Repository, browse to the folder created in the prevoious step and save the repository as AzureBlob. Inside /Munki/AzureBlob you now have the Munki repo structure
- Open terminal and cd to path/Munki, then run the following commands,
git init
git lfs track "AzureBlob/pkgs/*" #this will track all files in pkgs as large file storage files. If you need to track other directories that might contain files bigger than 100MB, run the same command and change the target folder
git add .gitattributes
git commit -m 'Initial commit'
git remote add origin https://{AzureDevOpsOrgName}@dev.azure.com/{AzureDevOpsOrgName}/{AzureDevOpsProjectName}/_git/{AzureDevOpsRepoName}
- I was not able to get LFS working without running the following command
git config http.version HTTP/1.1
- Run command
git push origin HEAD:main, now you will have to enter your email adress and the personal access token you copied earlier
The repo is now prepared for adding packages, add a new package as desribed in the section Create a package in the initial integrate Munki with MEM post, then follow this process,
- Open terminal and cd to path/Munki
- Run command
git add --all - Run command
git lfs ls-files, this will show you all files tracked by LFS. Make sure the package you added in Munki Admin is listed here - Run command
git commit -m 'upload package' - Run command
git push origin HEAD:main
Once the push is complete, you now have the Munki repository in your Azure DevOps repo.
Create Azure DevOps Pipeline
The repository is now prepared with LFS and everything we need, let's create the pipeline.
- In Azure DevOps, navigate to Pipelines and click Create Pipeline
- On Where is your code?, click Azure Repos Git
- Choose your repository and then click Starter pipeline
- Remove all the YAML code and replace it with the one I created below, replace {ServiceConnectionName} with the name of the Service Connection you created earlier and {StorageAccountName} with the name of your storage account,
# Munki pipeline
# When a push to main is done, this pipeline syncs the repo to Azure Storage
# Manifests uploads in bulk separetly as they're also managed with a Python script

# Trigger pipeline when push is made to main branch and only if target is AzureBlob folder

trigger:
  branches:
    include:
    - main
  paths:
    include:
    - AzureBlob

# Use windows as agent

pool:
  vmImage: 'windows-latest'

# Sync everything to Azure Storage execpt manifests

steps:
- checkout: self
  lfs: true

- task: AzureCLI@1
  displayName: 'Sync packages'
  inputs:
    azureSubscription: '{ServiceConnectionName}'
    scriptLocation: inlineScript
    inlineScript: 'az storage blob sync -c munki --account-name {StorageAccountName} -s "AzureBlob" --exclude-path "manifests;AzureBlob/manifests"'

# If you don't use Munki manifest generator, you can delete everything below this line
# you then also need to remove --exlude-path in the "Sync packages" step
# https://github.com/almenscorner/Intune-Munki-Manifest-Generator

# Batch upload all manifests

- task: AzureCLI@2
  displayName: 'Upload manifests'
  inputs:
    azureSubscription: '{ServiceConnectionName}'
    scriptType: ps
    scriptLocation: inlineScript
    inlineScript: 'az storage blob upload-batch -d munki/manifests --account-name {StorageAccountName} -s "AzureBlob/manifests"'
- Save the pipeline
Now when you add a new package with Munki Admin and then commit and push the changes, the Pipeline will run automatically and sync and upload packages and manifests to the Azure Storage Account.

Since we're using az blob storage sync to get our files to Azure Storage, if you delete a file and push the change, the file will be deleted in Azure Storage as well.
And that's it, we now have a functioning Pipeline in Azure DevOps that will automatically sync and upload changes done to the repository to Azure Storage.